Showing posts with label How-to's. Show all posts

Aug 26, 2014

You Say Tomato, I Say TomAto....


Modern prep for an old fashion task


It all started out so innocently...I walked into the TV room and found my barber husband watching the shopping channel. Yes, the shopping channel. A channel, I will say, that I have never even watched once. So now I am wondering if I have closet shopper under my roof? He is watching a infomercial about the Vitamix mixer/chopper/processor. This pricey piece of kitchen equipment is something we both have mentioned that "someday" we would like to have. Well, 20 minutes later, we are pulling out the charge card and  counting the days until it arrives. 

The real reason I got it at this particular moment? Well, a lady on the infomercial stated that she uses it a lot to prepare her goodies for canning. And bingo! Just the excuse I needed to get it...as our tomatoes are coming in VERY sporadically this summer. It has been way too cool for our tomatoes (but great for us) and after consulting with many gardeners, yes, they too, have more green tomatoes than red. This time last year, I was canning 50lbs of tomatoes at once - fresh off the vine. The photo above is from my last year harvest. And the photo below. This was just one of three bowlfuls I canned in just one day.


This year, I barely harvested 20 pounds and they are not nearly as pretty. See below:


While not as pretty, they sure do taste great, though. But the biggest problem isn't about beauty, but rather bounty. Not having lots to harvest at the same time, it isn't worth the work and effort to can just two or three cans of tomatoes. So what to do?


I decided to chop up my tomatoes in our new Vitamix, and then freeze the harvest until I have enough frozen to properly can them. What makes it so easy is that I can so quickly prep all my tomatoes - even the cherry tomatoes. This year I grew yellow cherry tomatoes (which taste wonderful) and today, I decided to process them for the freezer and thought I would share.


After cutting off the ends, and a good scrubbing (although we grow organically and never use a single chemical), I plop them into the Vitamix and chop them up - skins and seeds and all! Depending on what I am going to cook, I can strain the seeds, and crush even more, if needed. Or, keep them coarsely chopped for salsa...mmmm!


After briefly chopping them, I pour my little golden nuggets into a freezer storage bag and plop it in the freezer along with a couple of processed tomatoes to be canned later next month. 


My little frozen stacks of tomatoes are adding up and I have about two more bags left to process tomorrow until more are ripe enough to harvest. While I prefer to can the tomatoes the day I pick them, the weather isn't cooperating, and so I must do what I do. With them all  prepped, I am now free to either can them as is, or make a sauce or even a soup and process that as well. 


This is one of the best parts about my new toy. It is super easy to clean up. Just fill it halfway with water, a dash of liquid soap, and then blend on high for 30 seconds, and presto! All clean!
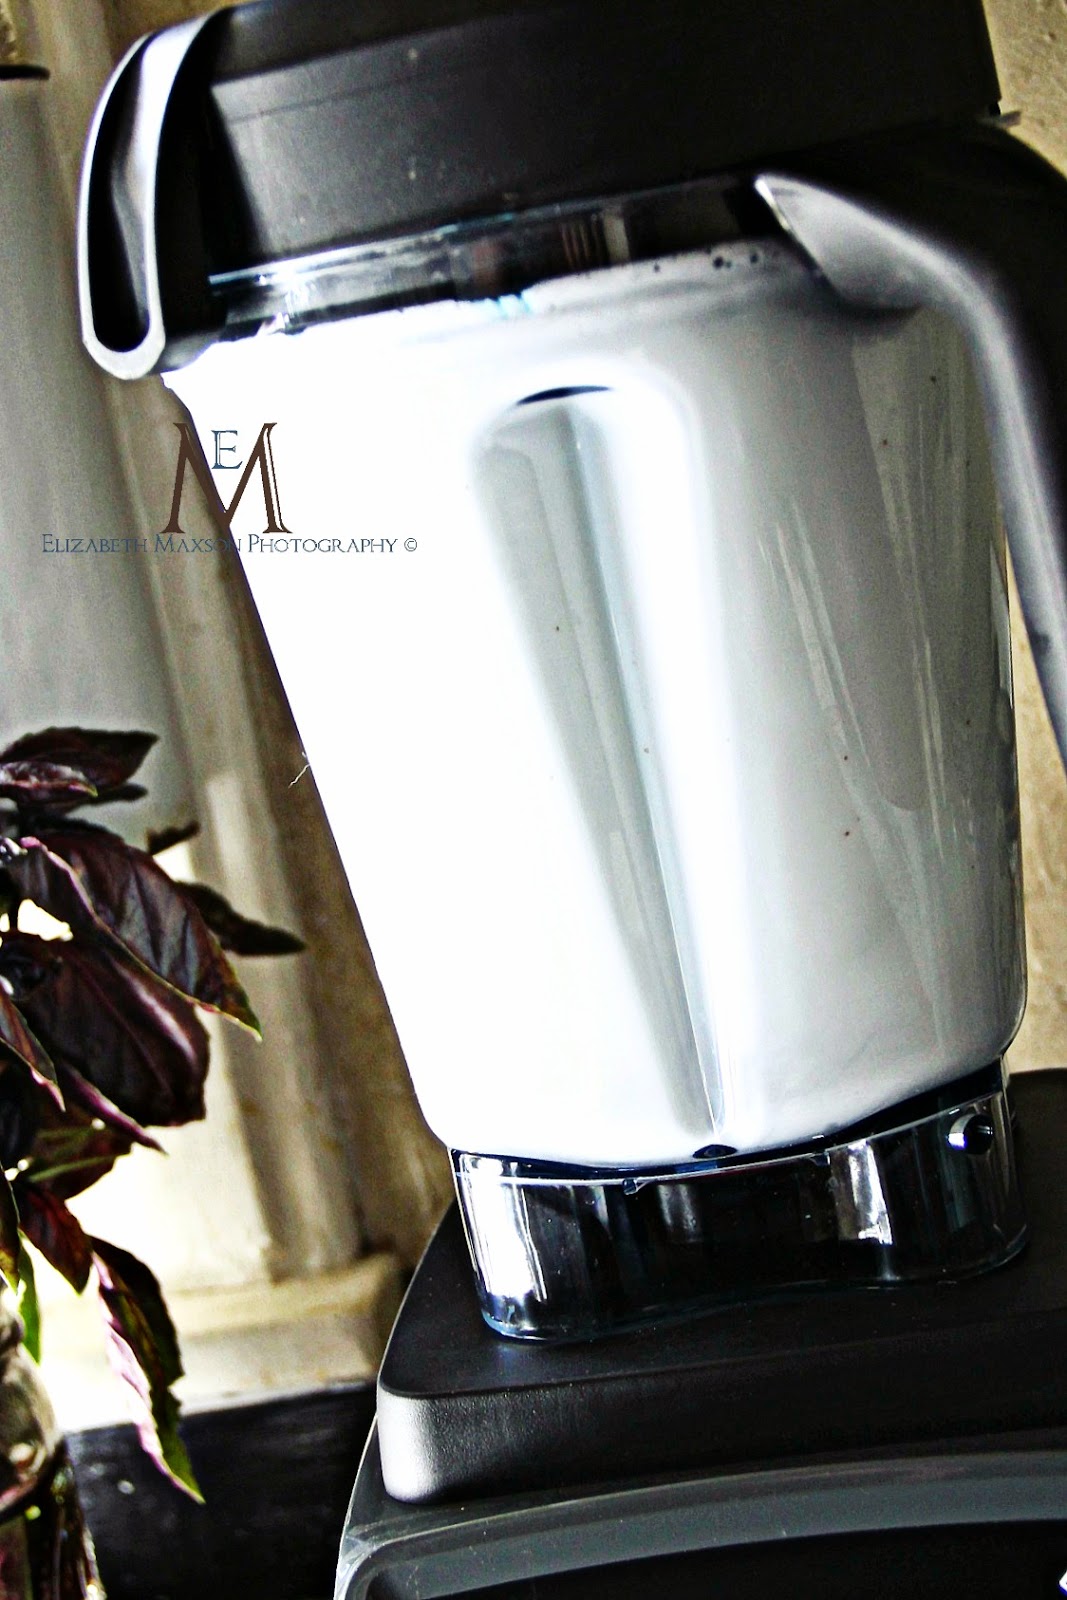


This soapy water looks good enough to drink - like a shake! 


Clean up is so quick, I don't have time to clean up my scraps while the blender is cleaning itself. I never toss out good, organic scraps. I save it for my compost. I bag it up...


Drop it in my heavy duty vintage creamer can...


And eventually, the contents go into the compost pile.


After I am done with the tomatoes, my herbs will be nice and dry and ready for processing soon. More on that later. These herbs are drying on my vintage wall dryer in my kitchen - smells so good in here! While my barber husband tells me he loves the way our kitchen smells, he also tells me that he loves the way I smell even more. But, when I stop and think about it, I am pretty sure I just smell like our kitchen.

Go figure.  

Whatever makes him happy. :-)

from my house to your house, 

Signature

May 19, 2011

French Collar Corsage

Hello!


I hope this spring is bringing you a creative spirit, along with all the rain...with rainy days, there is time to spend at the table with all sorts of baubles and create the day away as we wait for the sun to come out and the temps to rise.


Earlier, I had a wild hair to create due to my good friends, Debbie and Maureen's birthday. They are twin sisters, and I love them both. I sure do love my girlfriends, and whenever I can, I want to show them. But the problem is, I don't wear a watch, nor do I have any clocks in our home...in other words...I somehow feel that I get more hours in a day than others, and end up trying to cram in two days worth of projects into two hours. Sigh...too many ideas, and not enough time. Sound familiar to anyone out there?


To recap: I decided how much "fun" it would be to decorate a three-layer cake myself, and make homemade paper flowers on it and create some sort of French Collar Corsage for the guests of honor. Never mind that I have not seen neither made, nor had any idea how to go about doing this. And never mind that I had about a zillion other things I needed to do, and due, but....hey! Of course I can do this! To see the results of my paper flower cake, just read about it by clicking here.


Do you find those French collars at flea-markets and love them, but wonder what to do with them? I have found ways to display them over the years and use them around the house, but I still have many of them because I just can't resist them when I run across them at markets. 


So, I came up with another idea for them: French Collar Corsages...and after the party or event, they may be hung on a door knob as a keepsake.


I had no idea how to go about this little project, but after a bit, I figured it out. Now that I made a couple, I now know a few different ways I would make my next ones. But below are some basic steps to get you started. First, start with SOFT collars, not the stiff, starched ones. If stiff, then just wash the starch out and let it dry soft. I used old, stained ones - anyone who knows me, knows that I don't necessarily like "pristine" items. 


First, take a collar, and cross it over like so:


I then sewed a tiny stitch to hold it together, in the center:


I then dug through my collection of vintage buttons and found three buttons and sewed them together to create an interesting larger button and sewed it in the center:


I then added vintage French cuff buttons to the button holes at the tips of the collar:


For this corsage, I used died cheese cloth for my friend, Debbie, because she loves it so much. I was making this for her because I knew she would hang this in her bedroom. I designed custom bedding for her and will be using some fabric from her custom bedding for a leaf later.


I use this cheese cloth, cut into a square, to make a "ruffle" around the button. I fold little sections and then poke it behind the button with a toothpick and glue it behind the button:


As I said earlier, I was also making a three-layer cake at the same time while making these collar corsages...so I didn't get all the steps photographed for each corsage, but the basic steps above was used for each corsage. Below are some photos of the other two corsages I made (while bake and frosting the cake - I am surprised there isn't frosting on them!).


For Maureen, I used feathers, and made her "ruffle" out of old German book pages that I fringed and glued behind the button. Above I began the fringe. Below is a piece of the fringe I cut before I scrunched it behind the button:


You can see the fringe all the around the button now (above) and I then bent it all a little with my fingers. Below, I sewed a little piece of material, and tacked it loosely so that the corsage could be pinned easily.


This next one is for Debbie's daughter, Caitlin, the hostess. This is simple and a combo of the two earlier ones. It has tiny feathers, so she has a little from her aunt's corsage. And it has a little cheese cloth like her mother's corsage, and I added a key because I know she has old keys in her home that are framed. 


So here are my three little French Collars Corsages for my sweet girlfriends. They were actually fun to make, and next time, I will enjoy making them even more, because I won't be making a cake at the same time. But the options are endless. Instead of buttons, I could use watch faces. Or a vintage clip earring. Old lace, a cuff link, or maybe even a vintage photo in a tin frame....


When the party is over...hang the corsage on a door knob, dresser knob, or even bed post. Or, recycle it and use it as a "bow" on your next gift package and pass it on!


 By the time the party got going, I was pooped and didn't really get my camera out at this stage. I managed to snap a quick photo and then forgot to get a "real" photo later. Sorry for the blurry photos, but you can get the idea. I really do put the camera down, and eat (dry) cake, laugh, drink punch and spend time with my sweet friends, and not just stay behind the lens...because while I love to click away with my Canon....clicking with my girlfriends is a picture-perfect afternoon for me!


My  "Little Debbie"

My "Merry Maureen"


Paper, lace, trim, buttons, glue...it is the making of the "perfect storm" for me. Now, toss out all watches, clocks, and timers within my sight...and now my "perfect storm" is heaven on earth because I am told that heaven knows no time. So, I imagine, that when I die, my heaven will be filled with endless stacks of vintage paper, boxes of old buttons, and tons of trim and finally...finally....I will finally have enough time for all of my ideas! 


In my heaven, there will be no such thing as: too many ideas, not enough time.


May you have a chance to create your own personal heaven on earth - even if it is for only a moment, a day, or only during a rainy season. And may you enjoy your perfect storm....


From my house to your house,


Signature
Related Posts Plugin for WordPress, Blogger...